With over 10000+ orders
With over 10000+ orders

Welcome back to Creworks blog, where we bring you the latest tips and tricks for keeping your living space sparkling clean and organized. Today, we have something truly exciting to share with you - a cost-effective and eco-friendly way to keep your ultrasonic cleaner in action! In this article, we'll explore how to make a homemade cleaner solution for your ultrasonic cleaner, saving you time and money, all while reducing your environmental footprint. Let's dive in!
Before we get into the nitty-gritty of creating your DIY cleaning solution, let's quickly review what ultrasonic cleaners are and why they are such an essential tool for keeping your jewelry, eyeglasses, and more in pristine condition.
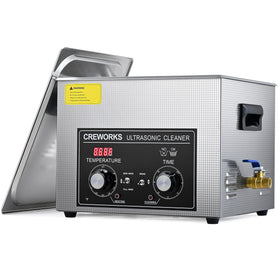
Ultrasonic cleaners use high-frequency sound waves to agitate a cleaning solution, generating microscopic bubbles that gently but effectively remove dirt, grime, and contaminants from a variety of items. They're perfect for jewelry, watches, eyeglasses, dental instruments, and even small household items. However, the key to their success lies in the cleaning solution used in the tank.
Now, let's get to the exciting part – making your own cleaning solution. Not only is this cost-effective, but it also gives you control over the ingredients, ensuring that your precious items are cleaned without the use of harsh chemicals. Here's what you'll need:
Creating your homemade ultrasonic cleaner solution comes with several advantages:
By creating your own homemade cleaner solution for your ultrasonic cleaner, you not only save money but also contribute to a cleaner and greener planet. Give it a try, and your jewelry, eyeglasses, and small household items will thank you for the gentle yet effective cleaning. Don't forget to share your results with us and keep exploring our blog for more exciting home improvement tips!


